
Clusia care guides
Clusia care: practical checks for a healthier hedge
Care should respond to roots, moisture, light, and plant condition rather than automatic treatments.
· Clusia King Farms
Build a care plan around observations
Clusia care works best as a sequence of checks rather than a calendar of automatic treatments. Begin with the nursery identification, installation date, planting depth, and a photograph showing the entire bed. Distinguish a newly delivered plant from an established hedge: they may stand beside one another yet have very different access to soil moisture. Walk the planting after irrigation and after rain, observing where water lands and where it remains. Record changes in leaf color, firmness, and retention without assuming that every yellow leaf signals hunger. The purpose of routine care is to keep the root environment suitable while preserving a manageable canopy, not to force continuous growth regardless of weather or season.
Identify the plant before choosing a plan
Confirm the botanical name on the nursery label and ask the supplier to identify the actual stock. Clusia rosea and the small-leaved plant commonly sold as Clusia guttifera are not interchangeable names. UF/IFAS documents C. rosea as a tree reaching about 25–30 feet tall and 15–25 feet wide, with moderate growth. Those dimensions describe an unrestrained tree, not a promise about a regularly clipped hedge. The same publication lists USDA zones 10B–11, full sun to dappled shade, and high drought and aerosol salt tolerance. Treat those tolerances as established-plant characteristics, not permission to neglect new transplants. Do not transfer its hardiness, mature dimensions, or other species-specific data automatically to C. guttifera. Keep the plant label and any written nursery identification with your landscape records.
Check water delivery at the roots
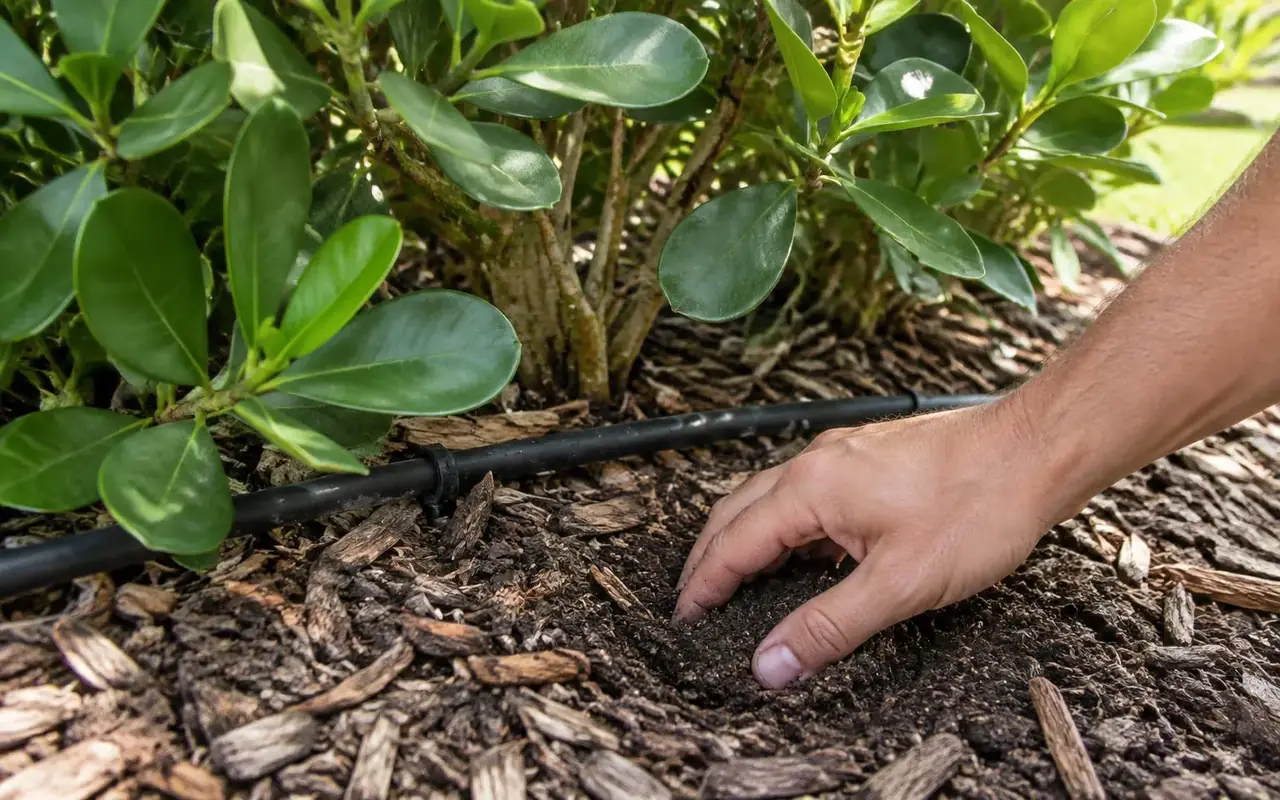
A wet bed surface can hide a dry nursery root ball, while a damp root ball can sit inside saturated surrounding soil. Sample both locations before changing irrigation. Watch a complete operating cycle to find blocked emitters, displaced tubing, runoff, or spray intercepted by leaves. Apply water to the root area rather than repeatedly wetting foliage as a substitute for effective delivery. If water ponds, investigate drainage and application rate instead of simply reducing every plant to the same short cycle. Recheck after adjustments because a controller setting cannot reveal what happened underground. Container plants need their own assessment: drainage openings, potting medium, exposure, and root occupancy alter how quickly usable moisture disappears.
Use soil and mulch deliberately
Keep the original soil level visible around the base instead of repeatedly raising the bed with decorative material. Mulch can help moderate moisture loss and protect the soil surface, but piled mulch against stems conceals problems and holds unwanted moisture there. Maintain a clear space around the base and inspect it when refreshing the bed. Avoid cultivating deeply through established roots to incorporate amendments. If the soil seems unsuitable, investigate texture, compaction, drainage, and a locally appropriate soil test before buying corrective products. A soil report is a decision aid, not a diagnosis of every leaf symptom. Persistent standing water or runoff from pavement calls for site correction; an attractive layer of mulch cannot repair those conditions.
Feed only for an identified need
Do not translate pale foliage into an automatic fertilizer purchase. Root stress, inappropriate moisture, planting depth, and light changes can produce symptoms that resemble nutrient problems. Review those possibilities and seek soil or tissue testing when a professional considers it useful. If fertilizer is warranted, select a labeled landscape product suitable for the situation and follow its directions, local seasonal restrictions, and water-protection requirements. Keep material off paving and away from drains, and do not assume more product means better care. Document what was applied so later symptoms can be interpreted. Avoid trying to compensate for a failing root system with repeated feeding; solving the underlying root environment is more important than stimulating new foliage.
Inspect gently and define when to seek help
Make routine inspection more informative than routine spraying. Look at both leaf surfaces, branch junctions, the plant base, and the pattern across neighboring plants. Compare a struggling section with a healthy section under similar exposure. Remove litter that prevents inspection, but do not strip healthy foliage or excavate roots merely to satisfy curiosity. Use selective pruning for wayward shoots and preserve enough foliage to support recovery after stress. Contact Extension or a qualified professional when decline spreads, stems die back, roots smell abnormal, or plants become unstable. Provide photographs, irrigation observations, weather history, and previous treatments. This record helps separate an insect issue from a cultural problem and reduces the temptation to apply several unrelated products at once.
Support establishment without a rigid schedule
Inspect the original root ball and the surrounding soil separately; they can hold very different amounts of moisture. Check below the surface with a finger or suitable probe before deciding whether to water. Water when those checks show a need, applying it slowly enough to wet the root zone without sustained ponding. Rainfall, soil texture, wind, season, and nursery container size all change that decision. A timer setting is not evidence that roots received enough water. Keep mulch away from stems and avoid burying the root flare when adding soil or refreshing beds. Do not use fertilizer as a first response to stress. Review drainage, planting depth, roots, and irrigation first; obtain soil guidance and follow product labels and applicable local fertilizer restrictions if feeding is justified. Newly installed plants need observation even when established clusia nearby appears self-sufficient.
A practical checklist and reliable references
Before authorizing work, record the plant identification, measured bed dimensions, desired finished height, and any access restrictions. Photograph the whole planting and representative leaves so future changes are easier to compare. Walk the entire line rather than judging it from one attractive plant. After rain or irrigation, check low spots and a few root balls along both sunny and shaded stretches. Record what you actually observe before changing water, fertilizer, or pruning. Request a written scope that explains who handles installation corrections, debris removal, and follow-up inspections. If a problem persists or a major structural decision is involved, consult your county Extension office or an appropriately qualified landscape or tree professional.
Reference checks for this guide: UF/IFAS ST172, “Clusia rosea: Pitch Apple” (https://ask.ifas.ufl.edu/publication/ST172); Sarasota County Extension's species comparison (https://blogs.ifas.ufl.edu/sarasotaco/2024/02/07/flora-da-friendly-features-imposter-pitch-apple/); and Hillsborough County Extension's landscape overview (https://blogs.ifas.ufl.edu/hillsboroughco/2021/12/31/clusia-a-hugely-popular-landscape-plant/). Apply each source only to the plant and conditions it actually discusses.
Before you plant
- Confirm the botanical species and mature size.
- Check drainage, irrigation, utilities and property setbacks.
- Measure hedge length and discuss starting height.
- Review local restrictions and your written quote.
Check your USDA hardiness zone
Questions, answered
Plant care references
Clusia King Farms
Best Clusia in Florida
Get a farm-direct quote in minutes.
Step 1 of 3