
Clusia care guides
Clusia spacing: planning a hedge that fits
Clusia spacing should reflect plant identity, delivered width, and the long-term space available. The configured planning values below are estimating inputs, not authoritative species recommendations.
· Clusia King Farms
Understand the configured values
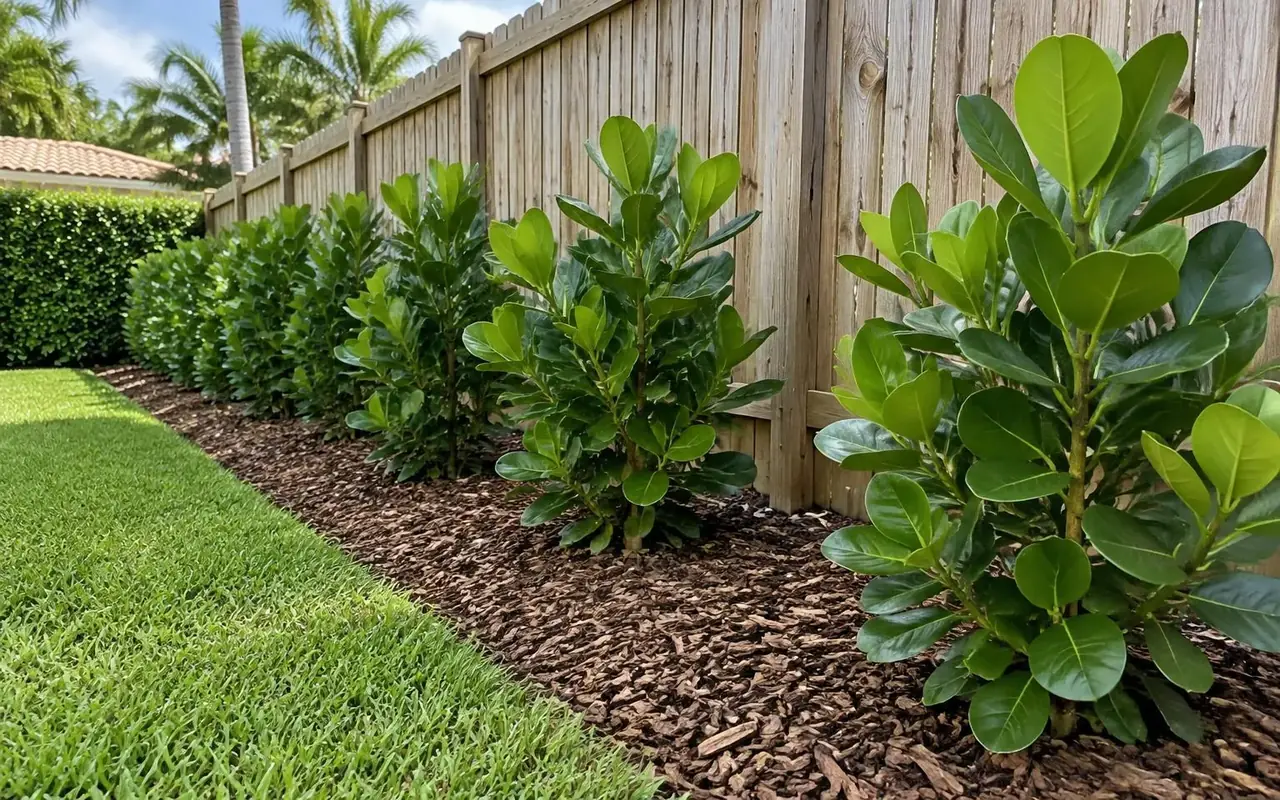
The configured planning values are 2 feet on center for stock listed at 2–3 feet tall, 2.5 feet on center for 4–6-foot stock, and 3 feet on center for 6.5–7-foot stock. On center means the distance between neighboring plant centers, not the empty gap between leaves. These settings help prepare an initial quantity estimate; they are not UF/IFAS spacing recommendations or proof that a particular site can support that density. They also do not describe the eventual width of either clusia species. Have the supplier or designer review the actual plant width, branching, maintained hedge size, and site before converting a planning estimate into a planting order.
Identify the plant before choosing a plan
Confirm the botanical name on the nursery label and ask the supplier to identify the actual stock. Clusia rosea and the small-leaved plant commonly sold as Clusia guttifera are not interchangeable names. UF/IFAS documents C. rosea as a tree reaching about 25–30 feet tall and 15–25 feet wide, with moderate growth. Those dimensions describe an unrestrained tree, not a promise about a regularly clipped hedge. The same publication lists USDA zones 10B–11, full sun to dappled shade, and high drought and aerosol salt tolerance. Treat those tolerances as established-plant characteristics, not permission to neglect new transplants. Do not transfer its hardiness, mature dimensions, or other species-specific data automatically to C. guttifera. Keep the plant label and any written nursery identification with your landscape records.
Measure useful runs and endpoints
Measure each straight run along the proposed planting centerline. Deduct gates, required access openings, equipment clearances, and spaces that cannot be excavated safely. Decide where the first and last plant centers will sit rather than automatically placing a stem at each end of the boundary. A run divided by a spacing value gives an estimate of intervals; plant count depends on the endpoint arrangement and rounding. For corners, draw the layout so two separate calculations do not accidentally order the same corner plant twice. Keep measurements in consistent units, and show the sketch to the installer before paying for stock. Field adjustment is often necessary when actual plants arrive.
Plan width as carefully as length
Spacing along the row does not establish a safe setback from a wall, pool, sidewalk, or property line. Check the width needed for the maintained hedge, the ability to prune both sides, and any local or association requirements. Imagine carrying tools through the remaining passage once branches have filled out. Avoid solving a narrow bed by pushing plants closer together: this does not create more root space or maintenance access. Likewise, a second staggered row uses additional bed depth and may complicate irrigation and pruning. Where a single row cannot fit comfortably, compare a different plant form or screening design rather than assuming greater density is the answer.
Check the Florida site, not just the address
Florida is not one uniform growing environment. Compare your property's winter exposure, hours of direct light, drainage, and available bed width before selecting clusia. A warm coastal courtyard and an exposed inland lot can behave differently even within the same community. Check the bed after a substantial rain and look for standing water, soil washed against stems, and runoff arriving from adjacent paving. Locate irrigation pipes, underground services, septic components, easements, and access routes before excavation. Arrange utility marking through the appropriate service; private lines may require a separate locator. Ask a qualified landscape professional to assess tight boundaries, questionable drainage, or conflicts with structures. A hedge should fit its maintained size without blocking visibility, gates, equipment access, or required clearances. Where the site does not fit, changing the plant or layout is better than relying on constant corrective maintenance.
Lay out plants before digging
Use this layout checklist on installation day: mark the centerline, mark proposed centers, place the containers temporarily, and inspect the view from both sides. Check that gates open fully and that irrigation can reach every root ball. Compare the delivered plants with the quoted dimensions and look for major differences in branching or width. Adjust the plan with the installer before holes are dug, recording any change in quantity or spacing. Do not move the line into a utility corridor to hide an awkward gap. Keep the final layout sketch for future replacement work, and remember that early visual gaps may be preferable to a crowded hedge requiring persistent correction.
Support establishment without a rigid schedule
Inspect the original root ball and the surrounding soil separately; they can hold very different amounts of moisture. Check below the surface with a finger or suitable probe before deciding whether to water. Water when those checks show a need, applying it slowly enough to wet the root zone without sustained ponding. Rainfall, soil texture, wind, season, and nursery container size all change that decision. A timer setting is not evidence that roots received enough water. Keep mulch away from stems and avoid burying the root flare when adding soil or refreshing beds. Do not use fertilizer as a first response to stress. Review drainage, planting depth, roots, and irrigation first; obtain soil guidance and follow product labels and applicable local fertilizer restrictions if feeding is justified. Newly installed plants need observation even when established clusia nearby appears self-sufficient.
A practical checklist and reliable references
Before authorizing work, record the plant identification, measured bed dimensions, desired finished height, and any access restrictions. Photograph the whole planting and representative leaves so future changes are easier to compare. Walk the entire line rather than judging it from one attractive plant. After rain or irrigation, check low spots and a few root balls along both sunny and shaded stretches. Record what you actually observe before changing water, fertilizer, or pruning. Request a written scope that explains who handles installation corrections, debris removal, and follow-up inspections. If a problem persists or a major structural decision is involved, consult your county Extension office or an appropriately qualified landscape or tree professional.
Reference checks for this guide: UF/IFAS ST172, “Clusia rosea: Pitch Apple” (https://ask.ifas.ufl.edu/publication/ST172); Sarasota County Extension's species comparison (https://blogs.ifas.ufl.edu/sarasotaco/2024/02/07/flora-da-friendly-features-imposter-pitch-apple/); and Hillsborough County Extension's landscape overview (https://blogs.ifas.ufl.edu/hillsboroughco/2021/12/31/clusia-a-hugely-popular-landscape-plant/). Apply each source only to the plant and conditions it actually discusses.
Before you plant
- Confirm the botanical species and mature size.
- Check drainage, irrigation, utilities and property setbacks.
- Measure hedge length and discuss starting height.
- Review local restrictions and your written quote.
Check your USDA hardiness zone
Questions, answered
Plant care references
Clusia King Farms
Best Clusia in Florida
Get a farm-direct quote in minutes.
Step 1 of 3