
Clusia care guides
Clusia trimming: selective pruning without unnecessary damage
Choose a realistic outline, preserve intact leaves, and assess plant condition before reducing a hedge.
· Clusia King Farms
Decide what the cut must accomplish
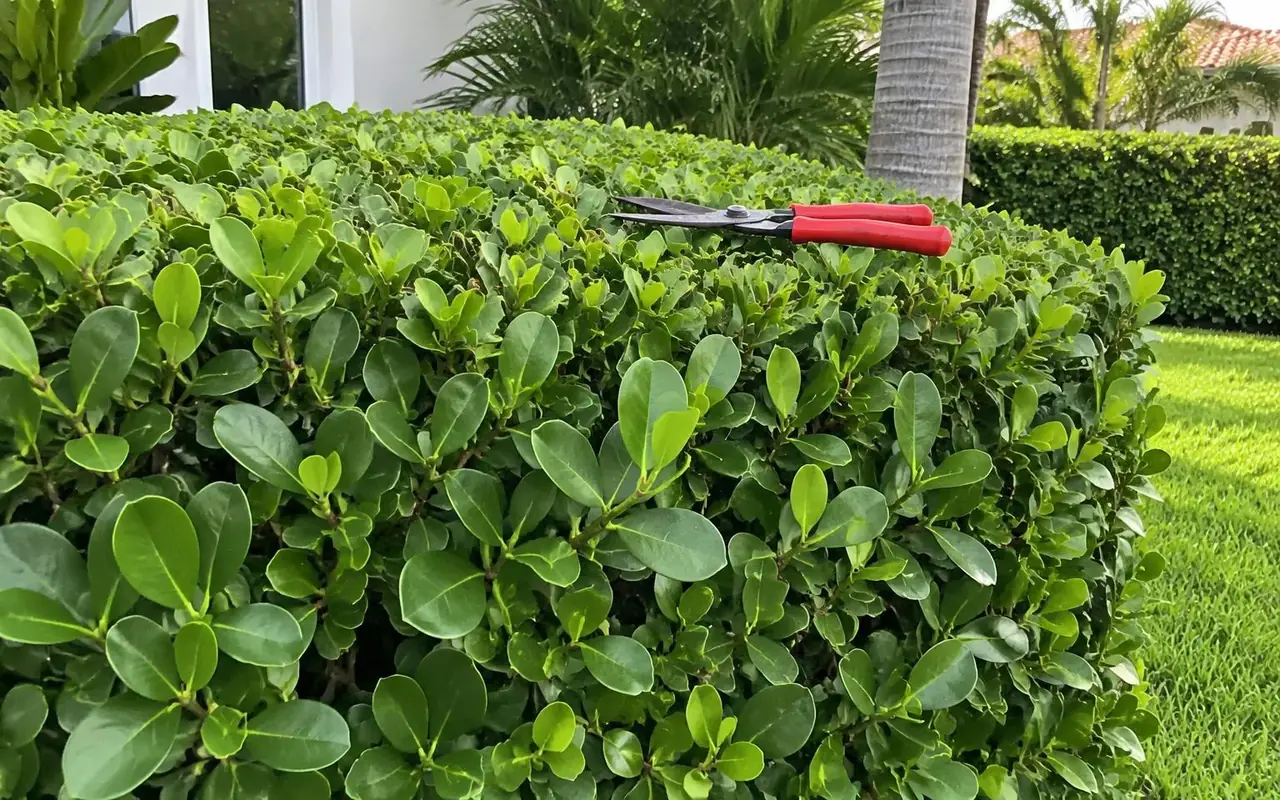
Clusia trimming should begin with a clear objective: preserving a view, clearing a gate, redirecting a branch, or maintaining a realistic hedge outline. Photograph the hedge before cutting and mark the desired boundary without assuming that every protruding leaf must disappear. Consider the plant's existing structure and how much living foliage would remain after the proposed work. A hedge that repeatedly blocks essential access may be poorly matched to its location rather than insufficiently trimmed. Agree on a maintained height and width with the person doing the work. Ask whether the quote describes selective branch pruning, mechanical shearing, or major reduction, because these operations produce different results and risks.
Identify the plant before choosing a plan
Confirm the botanical name on the nursery label and ask the supplier to identify the actual stock. Clusia rosea and the small-leaved plant commonly sold as Clusia guttifera are not interchangeable names. UF/IFAS documents C. rosea as a tree reaching about 25–30 feet tall and 15–25 feet wide, with moderate growth. Those dimensions describe an unrestrained tree, not a promise about a regularly clipped hedge. The same publication lists USDA zones 10B–11, full sun to dappled shade, and high drought and aerosol salt tolerance. Treat those tolerances as established-plant characteristics, not permission to neglect new transplants. Do not transfer its hardiness, mature dimensions, or other species-specific data automatically to C. guttifera. Keep the plant label and any written nursery identification with your landscape records.
Prefer branch decisions to shredded leaves
UF/IFAS Sarasota County Extension specifically cautions that hedge trimmers can spoil the appearance of clusia leaves and recommends mindful branch pruning. Large leathery leaves cut across their blades can leave conspicuous damaged edges. Use sharp hand pruners for suitable small shoots and choose cuts that preserve intact nearby foliage. Follow a shoot back to an appropriate branch junction rather than repeatedly clipping only its outermost tip. Stand back often to judge the whole surface instead of chasing individual leaves into deeper cuts. If mechanical shearing is part of an agreed maintenance plan, understand the cosmetic tradeoff and do not portray it as identical to selective pruning. Remove clippings so the remaining structure can be inspected.
Preserve light and avoid drastic corrections
Aim for an outline that does not let the upper canopy permanently overshadow the base; a slightly narrower top can help light reach lower foliage. Do not assume a bare interior will immediately refill after a deep cut. Before reducing an overgrown hedge, inspect live branching, existing bare wood, and the amount of foliage that would be removed. Discuss staged reduction or replacement when the desired size is far below the current outline. Newly planted, drought-stressed, waterlogged, or recently cold-damaged plants deserve an assessment before substantial cosmetic work. There is no universal cutting interval that overrides condition and weather. Plan modest maintenance around actual growth and site requirements rather than repeatedly forcing a large plant into an unsuitable strip.
Use correct tools and safe access
Match the tool to the branch and make clean cuts without crushing tissue or tearing bark. Larger branches require suitable equipment and an understanding of branch attachments; do not improvise major cuts with undersized hand tools. Clean tools and follow appropriate sanitation guidance when disease is suspected. Wear eye protection and gloves, keep bystanders clear, and never reach into operating cutting equipment. Keep ladders, blades, and cut branches away from electrical lines; work near utilities belongs to appropriately qualified professionals. Do not stand on unstable containers to reach the hedge top. If height, branch weight, or access makes the job unsafe from a secure position, obtain professional help rather than accepting the risk for a cosmetic result.
Inspect the result before scheduling more work
After trimming, check that gates open, sightlines remain clear, and irrigation has not been displaced or buried beneath debris. Photograph the new outline from the same location used before work. Watch remaining leaves and cut areas as conditions change, distinguishing old mechanical damage from new decline. Do not automatically increase fertilizer or irrigation to replace removed growth; inspect actual root-zone moisture and plant condition first. Save notes on which sections were reduced most heavily so uneven recovery is not mistaken for a spreading disease. If repeated pruning still leaves the hedge too broad, too tall, or bare below, revisit the planting design. Maintenance should support a suitable plant, not disguise an unresolved conflict indefinitely.
Support establishment without a rigid schedule
Inspect the original root ball and the surrounding soil separately; they can hold very different amounts of moisture. Check below the surface with a finger or suitable probe before deciding whether to water. Water when those checks show a need, applying it slowly enough to wet the root zone without sustained ponding. Rainfall, soil texture, wind, season, and nursery container size all change that decision. A timer setting is not evidence that roots received enough water. Keep mulch away from stems and avoid burying the root flare when adding soil or refreshing beds. Do not use fertilizer as a first response to stress. Review drainage, planting depth, roots, and irrigation first; obtain soil guidance and follow product labels and applicable local fertilizer restrictions if feeding is justified. Newly installed plants need observation even when established clusia nearby appears self-sufficient.
A practical checklist and reliable references
Before authorizing work, record the plant identification, measured bed dimensions, desired finished height, and any access restrictions. Photograph the whole planting and representative leaves so future changes are easier to compare. Walk the entire line rather than judging it from one attractive plant. After rain or irrigation, check low spots and a few root balls along both sunny and shaded stretches. Record what you actually observe before changing water, fertilizer, or pruning. Request a written scope that explains who handles installation corrections, debris removal, and follow-up inspections. If a problem persists or a major structural decision is involved, consult your county Extension office or an appropriately qualified landscape or tree professional.
Reference checks for this guide: UF/IFAS ST172, “Clusia rosea: Pitch Apple” (https://ask.ifas.ufl.edu/publication/ST172); Sarasota County Extension's species comparison (https://blogs.ifas.ufl.edu/sarasotaco/2024/02/07/flora-da-friendly-features-imposter-pitch-apple/); and Hillsborough County Extension's landscape overview (https://blogs.ifas.ufl.edu/hillsboroughco/2021/12/31/clusia-a-hugely-popular-landscape-plant/). Apply each source only to the plant and conditions it actually discusses.
Before you plant
- Confirm the botanical species and mature size.
- Check drainage, irrigation, utilities and property setbacks.
- Measure hedge length and discuss starting height.
- Review local restrictions and your written quote.
Check your USDA hardiness zone
Questions, answered
Plant care references
Clusia King Farms
Best Clusia in Florida
Get a farm-direct quote in minutes.
Step 1 of 3